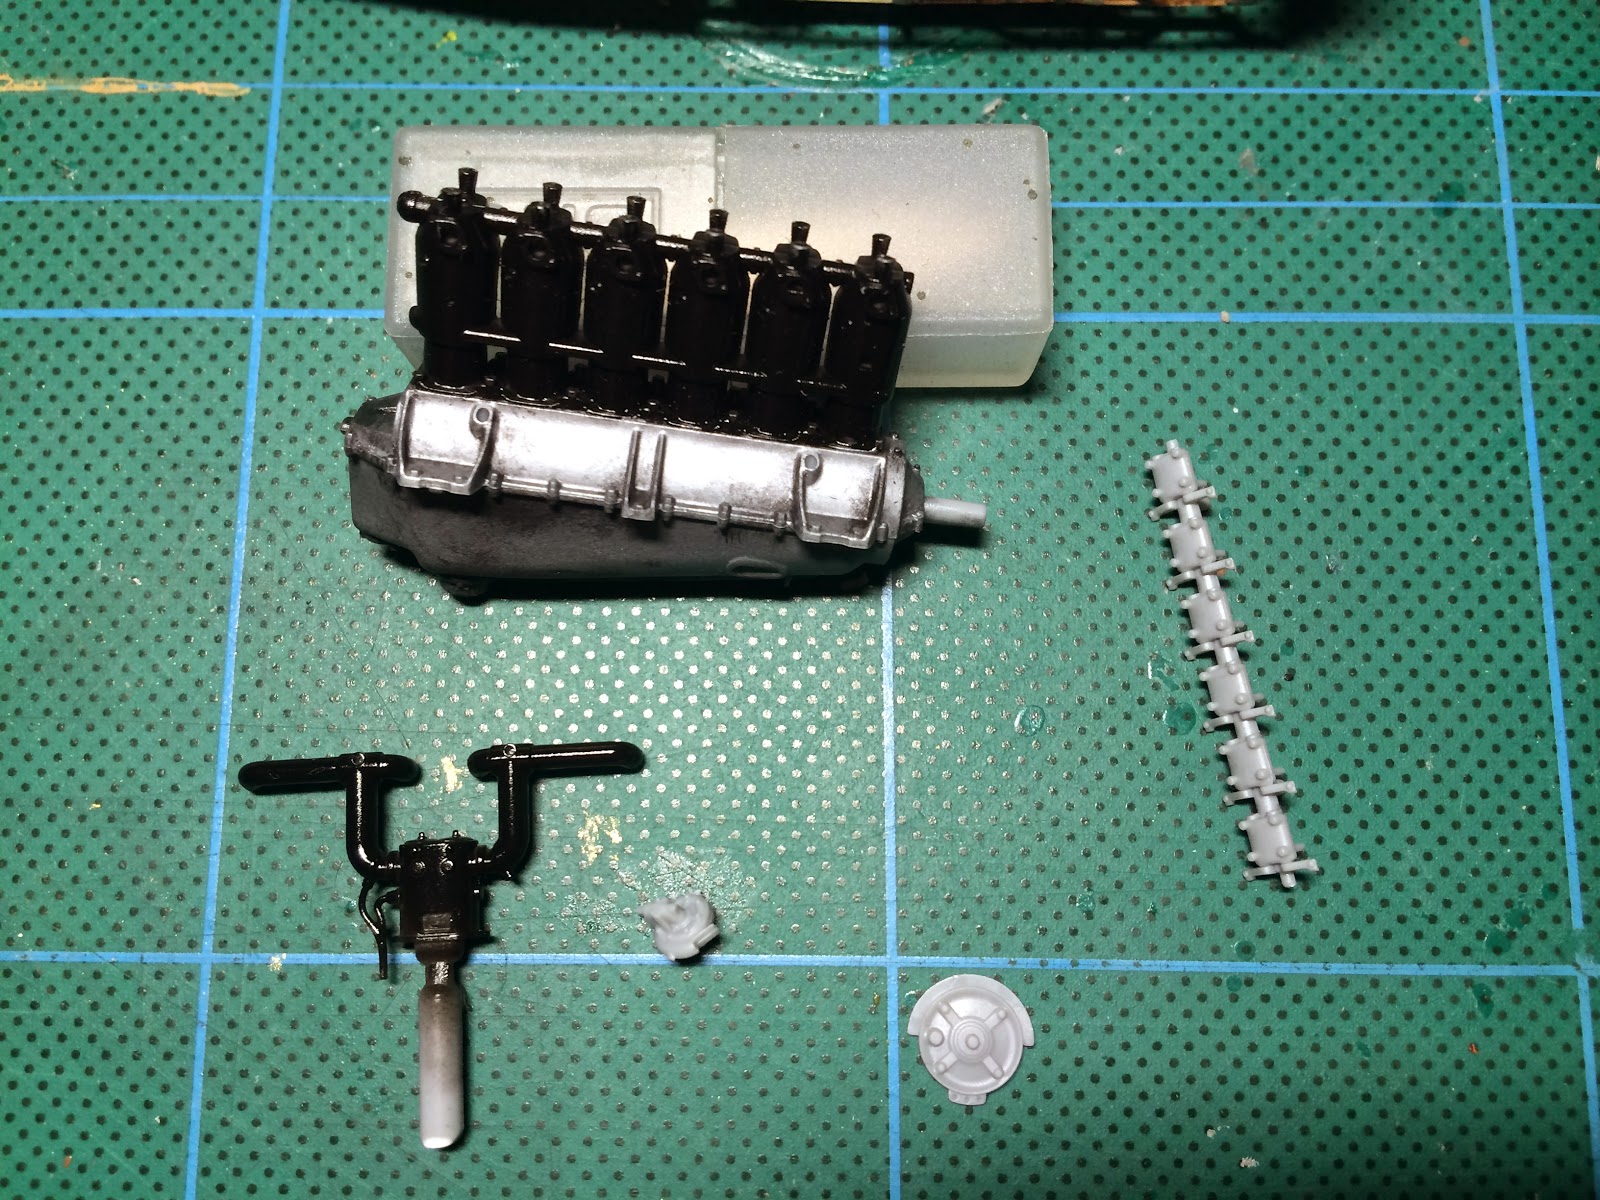
Dryfit of engine. Fits perfectly!
Black MrHobby lacquer for cylinders and intake manifold.
Metalizing the crankcase
Detailing progress.
Picked out some brass detail with a toothpick. First layer of weathering of the metal using different combinations of Testor Steel and Testor Exhaust.
The metal finish decal on the crank case gives a nice touch..
The camshaft/rocker assembly is Testor Exhaust metalizer with a drybrush of Testor Stainless Steel metalizer for highlight, rocker shafts picked out with a toothpick, etc..
Auxiliary drive with BOSCH magnetos and decompression lever (wooden handle, standard wood effect), airpumps etcetera
Adding spark plugs made of fusewire,
Superglue and cut..
Starboard side done.
There are two park plugs per cylinder, one on each side of the engine, run off separate magnetos.
Spark plug cables are made from coil copper wire, painted with yellow enamel that has stretched rigging wire wound around it while the paint is still quite tacky.
This is then secured with a coat of CA glue.The spark plug cables as per the reference pictures in the instructions.
5 out of 12 done.
I'm not sure if all Merc D.III would have yellow braided spark plug leads, but that's what I'm going with..
Done.
After installing the engine, I noticed there's a decal missing on the left side.
No problem fixing since the fuselage isn't closed yet..
After installing the engine, I noticed there's a decal missing on the left side.
No problem fixing since the fuselage isn't closed yet..


No comments:
Post a Comment