Thursday, November 27, 2014

Engine; -Building the Merc D.III 200hp


Starting with the engine block;


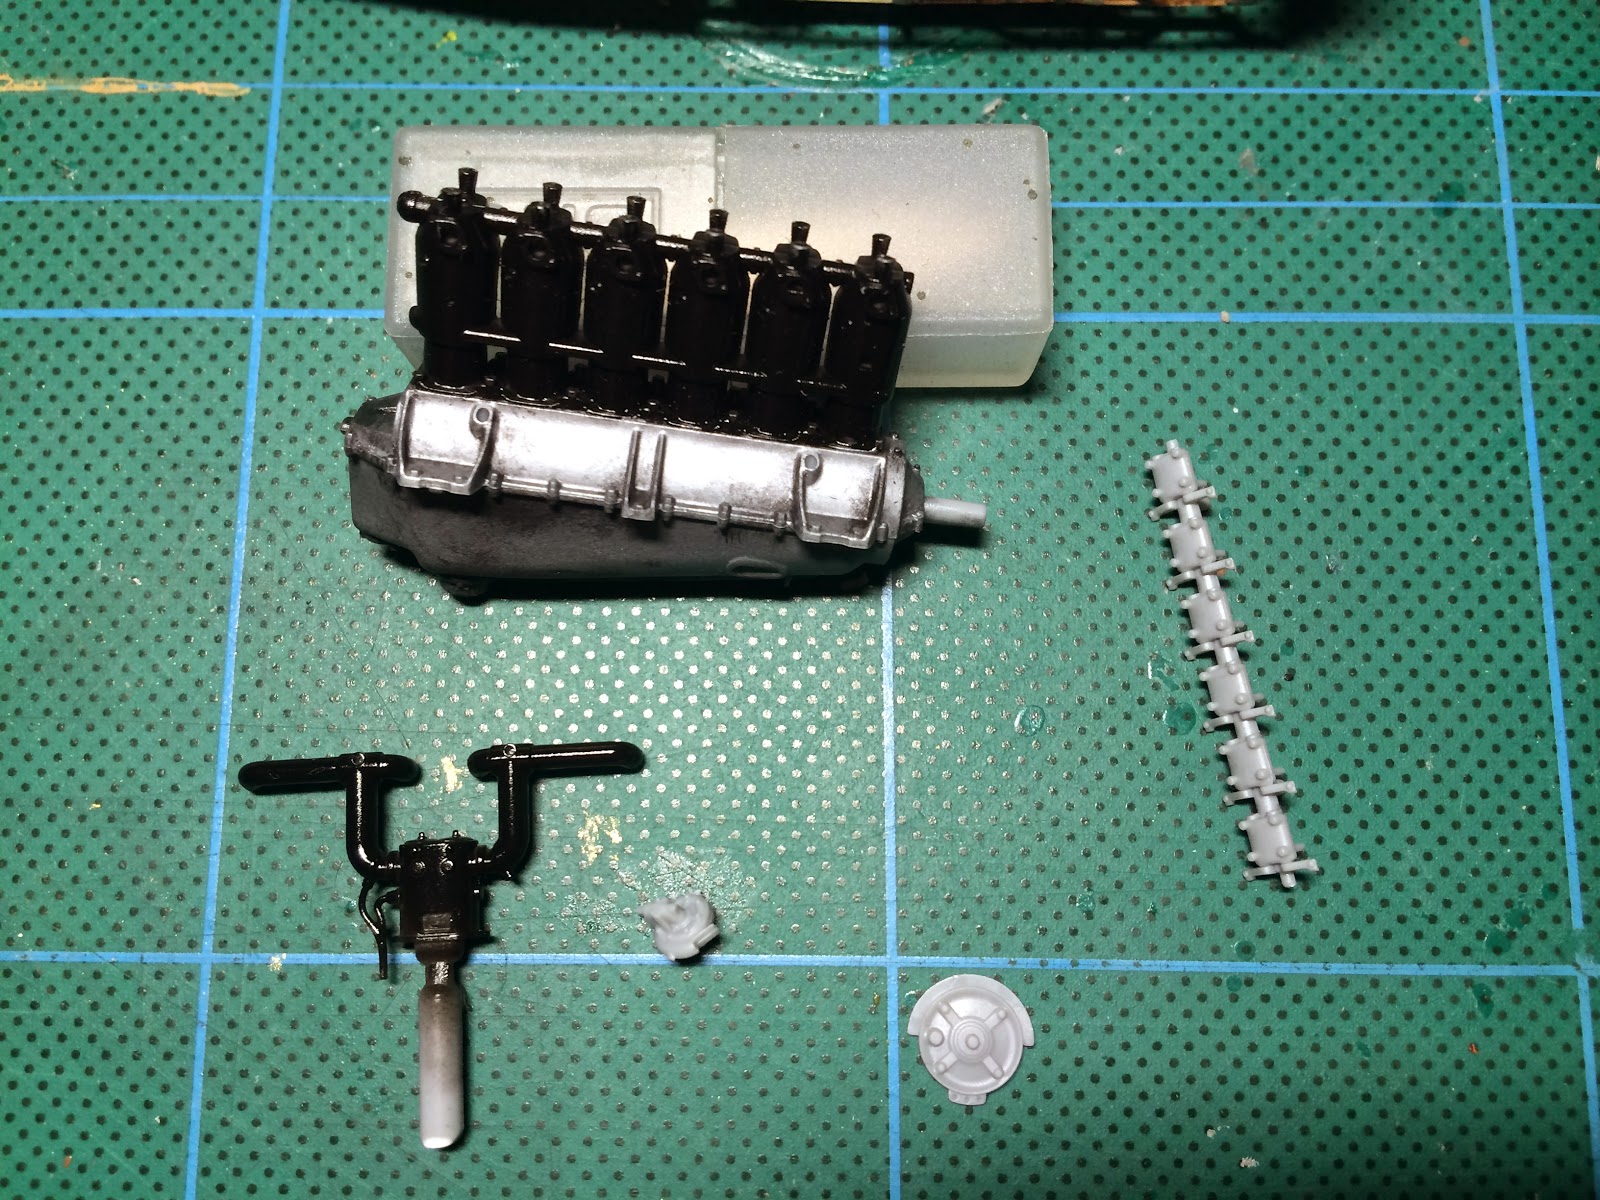
Dryfit of engine. Fits perfectly!
Black MrHobby lacquer for cylinders and intake manifold.

Metalizing the crankcase

Detailing progress.
Picked out some brass detail with a toothpick. First layer of weathering of the metal using different combinations of Testor Steel and Testor Exhaust.
The metal finish decal on the crank case gives a nice touch..
The camshaft/rocker assembly is Testor Exhaust metalizer with a drybrush of Testor Stainless Steel metalizer for highlight, rocker shafts picked out with a toothpick, etc..

Auxiliary drive with BOSCH magnetos and decompression lever (wooden handle, standard wood effect), airpumps etcetera

Adding spark plugs made of fusewire,
Superglue and cut..


Starboard side done.
There are two park plugs per cylinder, one on each side of the engine, run off separate magnetos.

Spark plug cables are made from coil copper wire, painted with yellow enamel that has stretched rigging wire wound around it while the paint is still quite tacky.
This is then secured with a coat of CA glue.


The spark plug cables as per the reference pictures in the instructions.
5 out of 12 done.
I'm not sure if all Merc D.III would have yellow braided spark plug leads, but that's what I'm going with..


Done.
After installing the engine, I noticed there's a decal missing on the left side.
No problem fixing since the fuselage isn't closed yet..


Friday, November 21, 2014

Rigging and assembling cockpit interior

Hmm, had to drill a hole through part A37, otherwise the cable for pulling the elevator up has nowhere to go! There's a bulkhead in the way.

Now this cable can be rigged. Probably not visible once closed up anyway..


Framing and instrument panel done

Nearly missed this one!
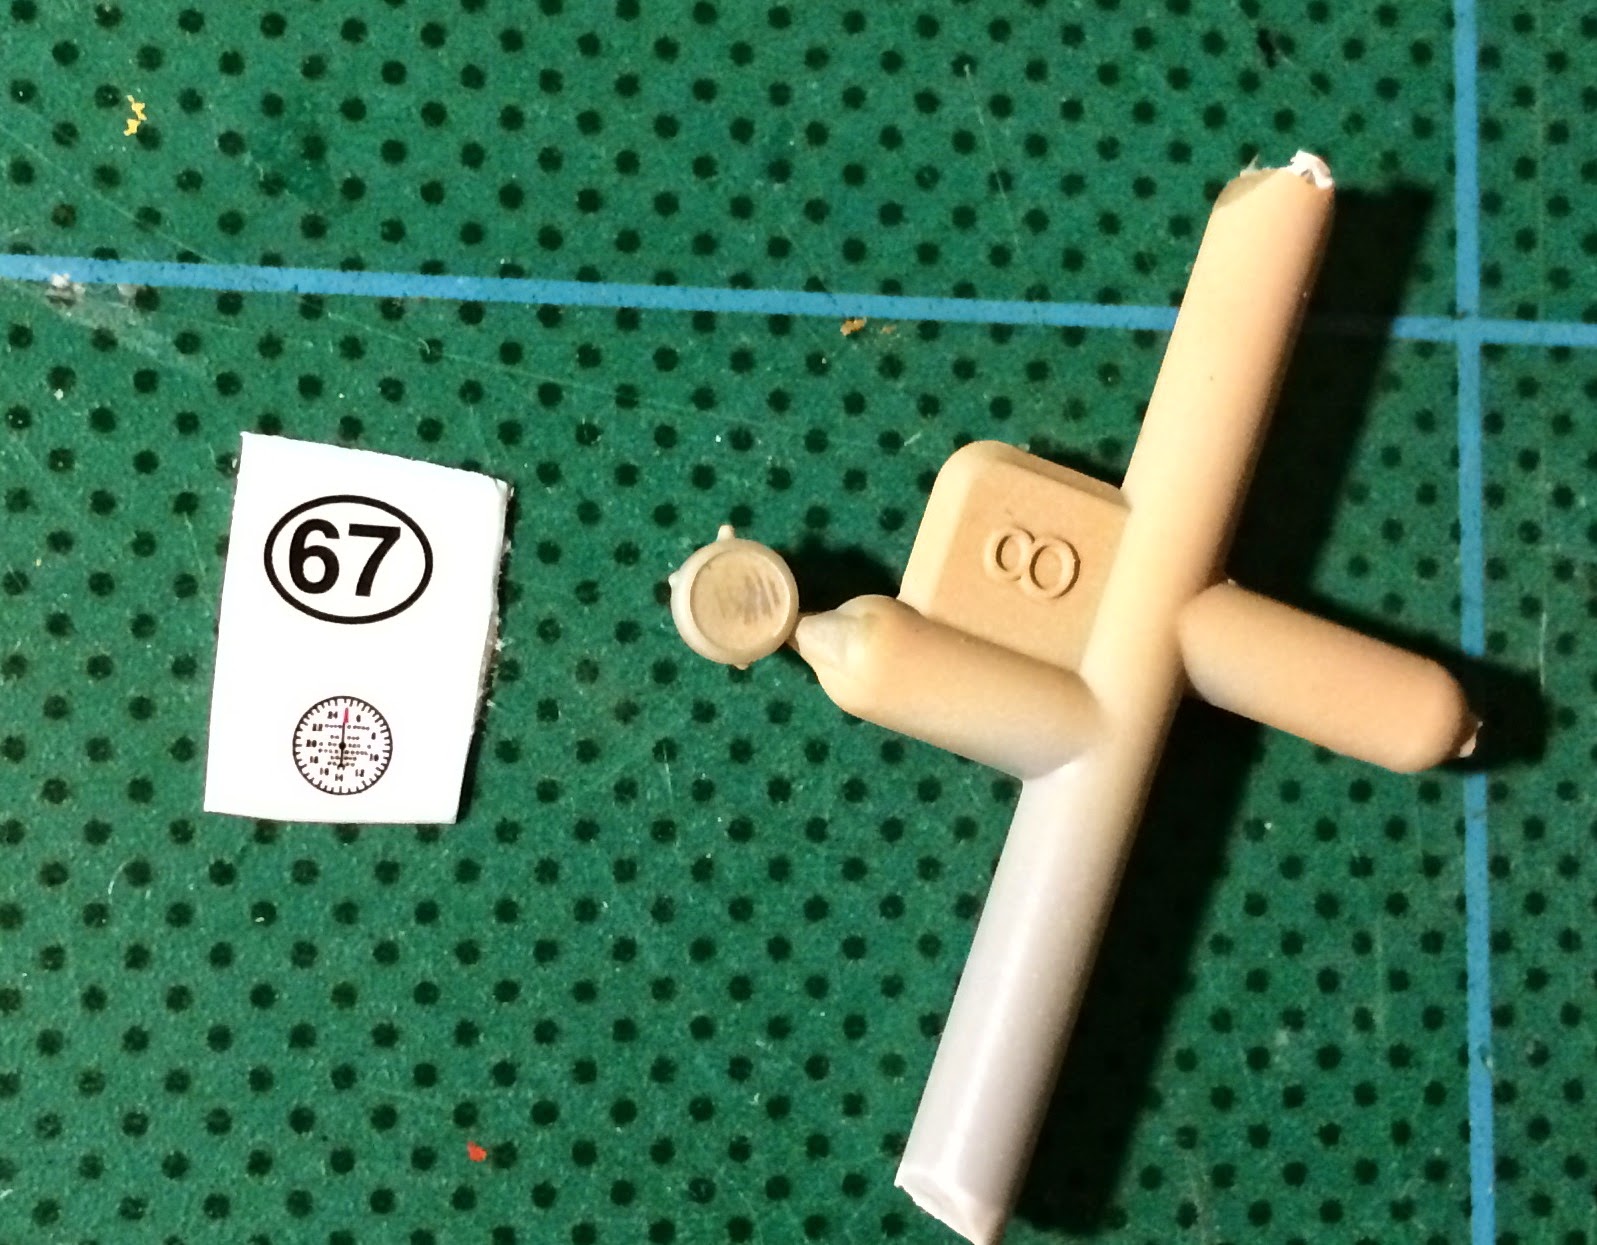
This is the altimeter, it's to be suspended under the instrument panel as per photo.
Part A8 and decal 67 as mentioned in the photo caption on page 3.
It is not shown at all in the assembly illustration, just as a note under this one period photo of the subject!

Ready.
No mention on how to attach it though.
Suspect hanging it from the three attachment points using rigging thread would do it..

This picture shows the run of the elevator lift cables through the newly drilled holes through the bulkhead.

Control cables done.
Just realised I have not made any machine gun trigger cables.
The throttle cable is already molded onto the control stick, but there is no representation of the machine gun trigger cables.
Probably should have done this before installing the control stick! 

I wasn't quite sure how to attach the altimeter.
If I had just stock it to the ammo box, I would have blocked the sliding hatch, yet the pictures show it being located here. I then noticed the altimeter had what looks like three attachment points that you could potentially hang it by, so I rigged it up hanging as per picture above.
-Still to do; machine gun trigger cables..


Thursday, November 20, 2014

Waiting for rigging wire..

-So in the meantime, some little other odds and ends to work on:

The 'spät früh' decal is a bit big.
Separated the words and moved them closer to each other.
Otherwise, 'früh' will be blocked by the instrument panel once that's installed..
The handle itself is a bit large and could probably benefit from being replaced with photoetch, but that's nitpicking a bit..

There are holes for the switches in the instrument panel, so why not add some switches to these?

Small, but visible, -if you know what you're looking for..

Painting the seat.
This is the base coat.

Oil streaks and wash..

Then I'll have to leave the cockpit for now and move on to the engine until the rigging thread arrives:

Uumm.. looks like they are having a bit of mold trouble with ejector pins breaking..
Easy to cut off though, -not an issue

Starting Merc 200hp engine assembly
I have chosen aircraft 'B' which needs the Mercedes D.III 200hp engine option


..update: -rigging wire arrived..  :-)

Sunday, November 16, 2014

Interior framing

Engine bay and cockpit frames


Engine frame

Matching the tape with the framing to mask for wood finish section

 Took good care to mask the little pulley for the aileron, but forgot all about the handle for the radiator lever at the top.. Will probably handpaint this one green later..

Instrument panel masked and ready.

Aileron pulley looking good, Crank for radiator to be done later..

All still fits, time for wood grain..

..-And just today, Wingnut Wings announces a Christmas release,
The Hansa-Brandenburg W.12 Early:
http://www.wingnutwings.com/ww/product?productid=3114

Cool!


Lozenge decal for screen cloth to go behind pilot's seat, plus instrument panel decals all done!

Monday, November 10, 2014

Some painting and interior detail

Interior assembly, continued


Ammo box fitting is pretty neat.

Dry fit, can barely see the joint.

Fuel tank not so much.
A bit more 'normal' fit tolerances here.
In retrospective, I'd recommend cutting off the guide pins, as they are actually a bit off..
Although this would be completely invisible in the finished model anyway!

Base for wood finish done

Steering column assembled, masking for black spray

Steering column assembled and base colours applied.

Dry fit, floor, steering column, ammo box, bulkhead and fuel tank

Side rudder pedals.
I think I may have found an error in the instructions..

Rigging instructions have the rudder cables attached on the outside of the foot rests, whereas the photographs of the real cockpit have them attached to the brackets just on the inside of the footrests.

-Update, Sent an email to Wingnut Wings asking about this.
Got a response within the hour, -Most likely correct placement is the inside bracket.
The new Roland D. IVb has updated cockpit rigging diagram to that effect:
(see instructions at http://www.wingnutwings.com/ww/productdetail?productid=3107&cat=4 page 5)

Thanks Richard!

After oil paint wash.
Sure works great for wood finish if spread with a rough brush.


Interior taking shape..
Have to make sure I can still reach the attachment points for the interior rigging easily.
This is probably the time for attaching it?

 Empty belt catchment, brass fuel caps

Couldn't help myself..
Ammo box and fuel tank done and attached.
Pedal cables will be a bit trickier now, -should be ok though.. :-)