Model building log for WWI highly detailed plastic model aircraft kits by Wingnut Wings, Peter Jackson's model kit company.
Tuesday, February 17, 2015
Sunday, February 15, 2015
Landing gear and wooden propeller painting
Side view
Masked, rear
Brown for every second wood layer
Same, rear view.
Monday, January 5, 2015
Attaching and rigging wings and control surfaces
Tailplane first.
Elevator control cables
A nice detail with the strut holes:
The forward strut is rectangular and the rear one is half moon shaped
You cannot really put the wrong strut in.
On the other hand, you have to have a keen eye not to get this one wrong.
These decals are all labeled '14', and go on the lower end of the struts.However, on closer inspection, they are actually different:
Lower text says 'lH', 'rH', 'lV', and 'rV' respectively.
That's for 'links, Hintern', 'rechts Hintern', 'links Vorne', and 'rechts Vorne'.
And that's the struts they go on, left rear, right rear, left front and right front.
This is for the radiator chain.That's for 'links, Hintern', 'rechts Hintern', 'links Vorne', and 'rechts Vorne'.
And that's the struts they go on, left rear, right rear, left front and right front.
Instructions have it as normal rigging wire. Most models I have seen on the web omits it completely, including Richard Alexander's model on the Wingnut Wings website.
I have decided to have a go. Using two hairs knotted together in a series of knots.
Painted silver, should look rather convincingly like chain.
-I hope.
First stage in rigging. Attach rigging wire to upper wing.
To lessen the risk of the wires being pulled out, I tie a knot at the end before gluing them.
All attachment points to the upper wing done.
Upper wing attached and rigged
Attached radiator chain
Saturday, December 27, 2014
Thursday, December 11, 2014
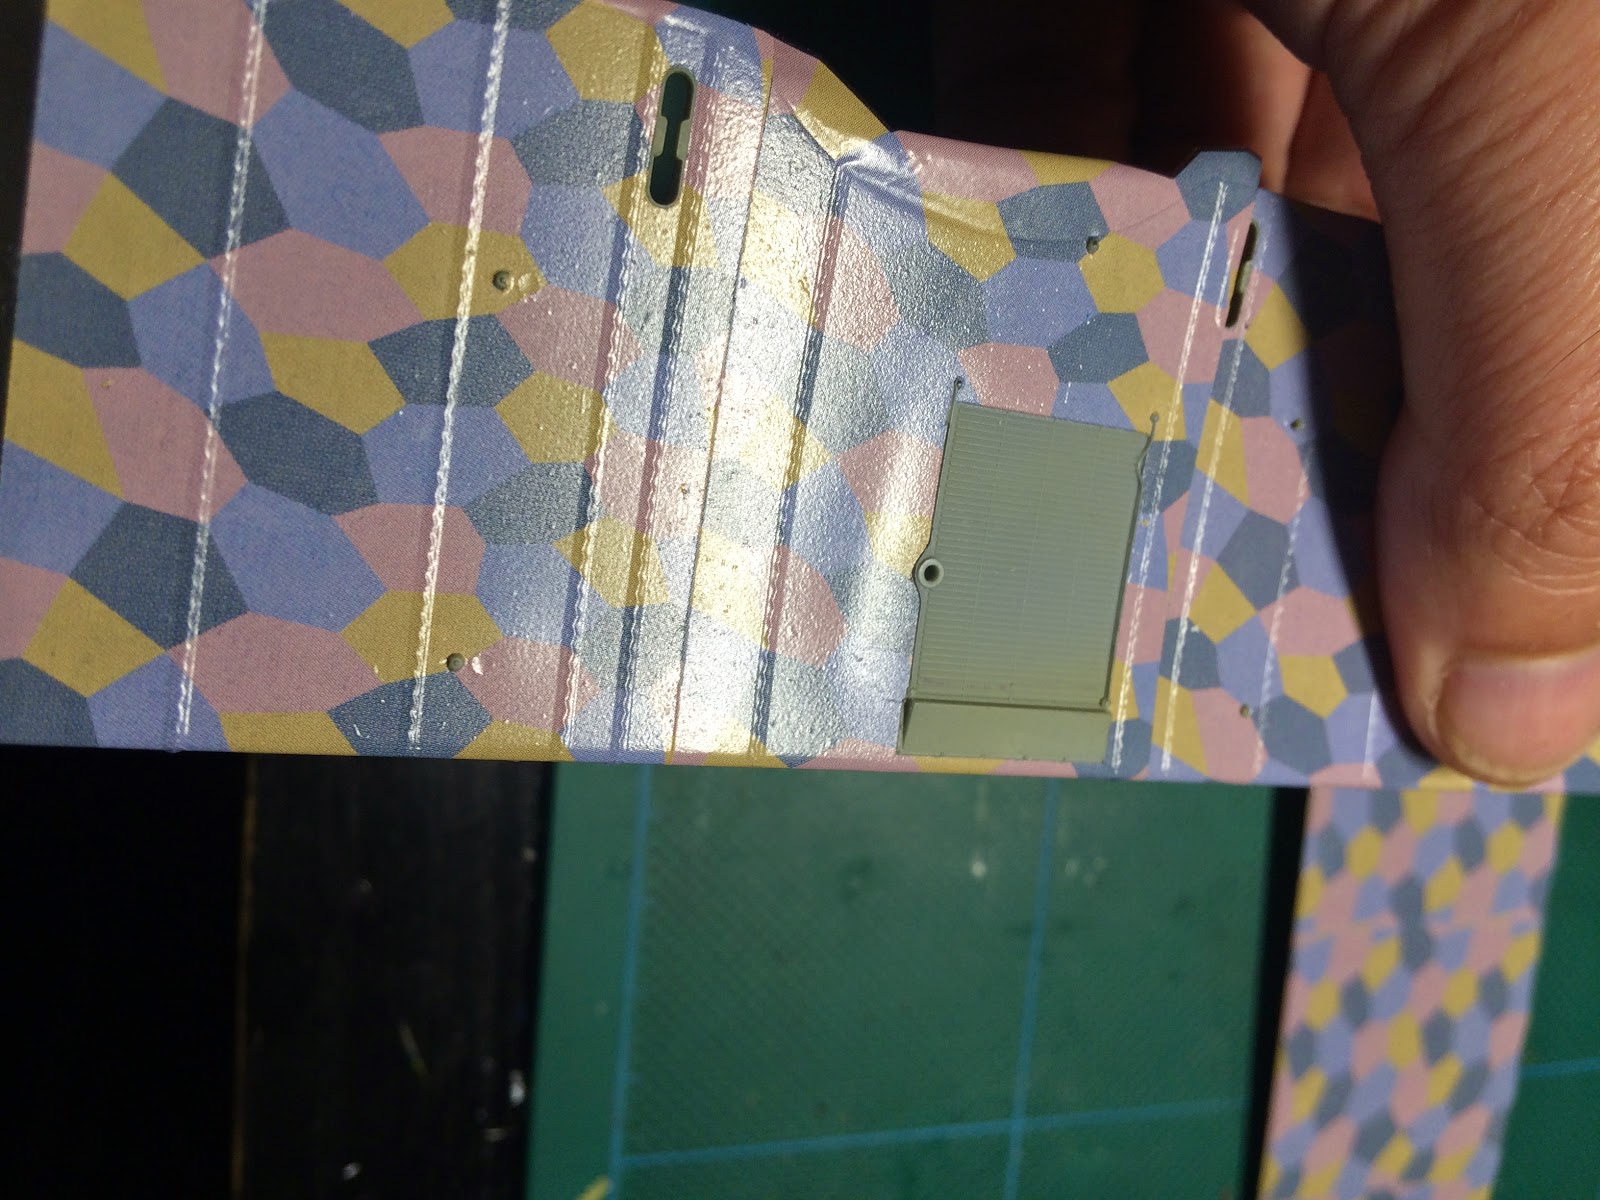
Decalling the wings and control surfaces with lozenge decal sheet.
Covering the tailplane in lozenge decals and ribtape
Painting any fittings that will show through, interior green.
And there a couple of bolts opposite of where the struts attach.
Covering the underside of the wings.
Caution. It says specifically NOT to use decal softener.
However, I'm using the tiniest amount to make them follow sharp curves.
And yes, it does melt the decal. Do not touch. Leave it alone until dry. use extremely sparingly. Practice on a spare bit -and again, -DO NOT TOUCH UNTIL DRY.
A small imperfection. I only noticed after putting on the decal.
There is a bit of a dimple at the thickest part of the wing.
Dry fitting the finished lower wing and tailplane.
Wings done
Tuesday, December 9, 2014
Armament and closing up the fuselage
The support brackets are molded into the machine gun as the point of attachment for installing the part.
A little bit of hollowing out does wonders for this..
Painted gray-green.
Annealing the cooling jackets and rolling them.
Cooling jackets glued on and dryfit both Spandau.
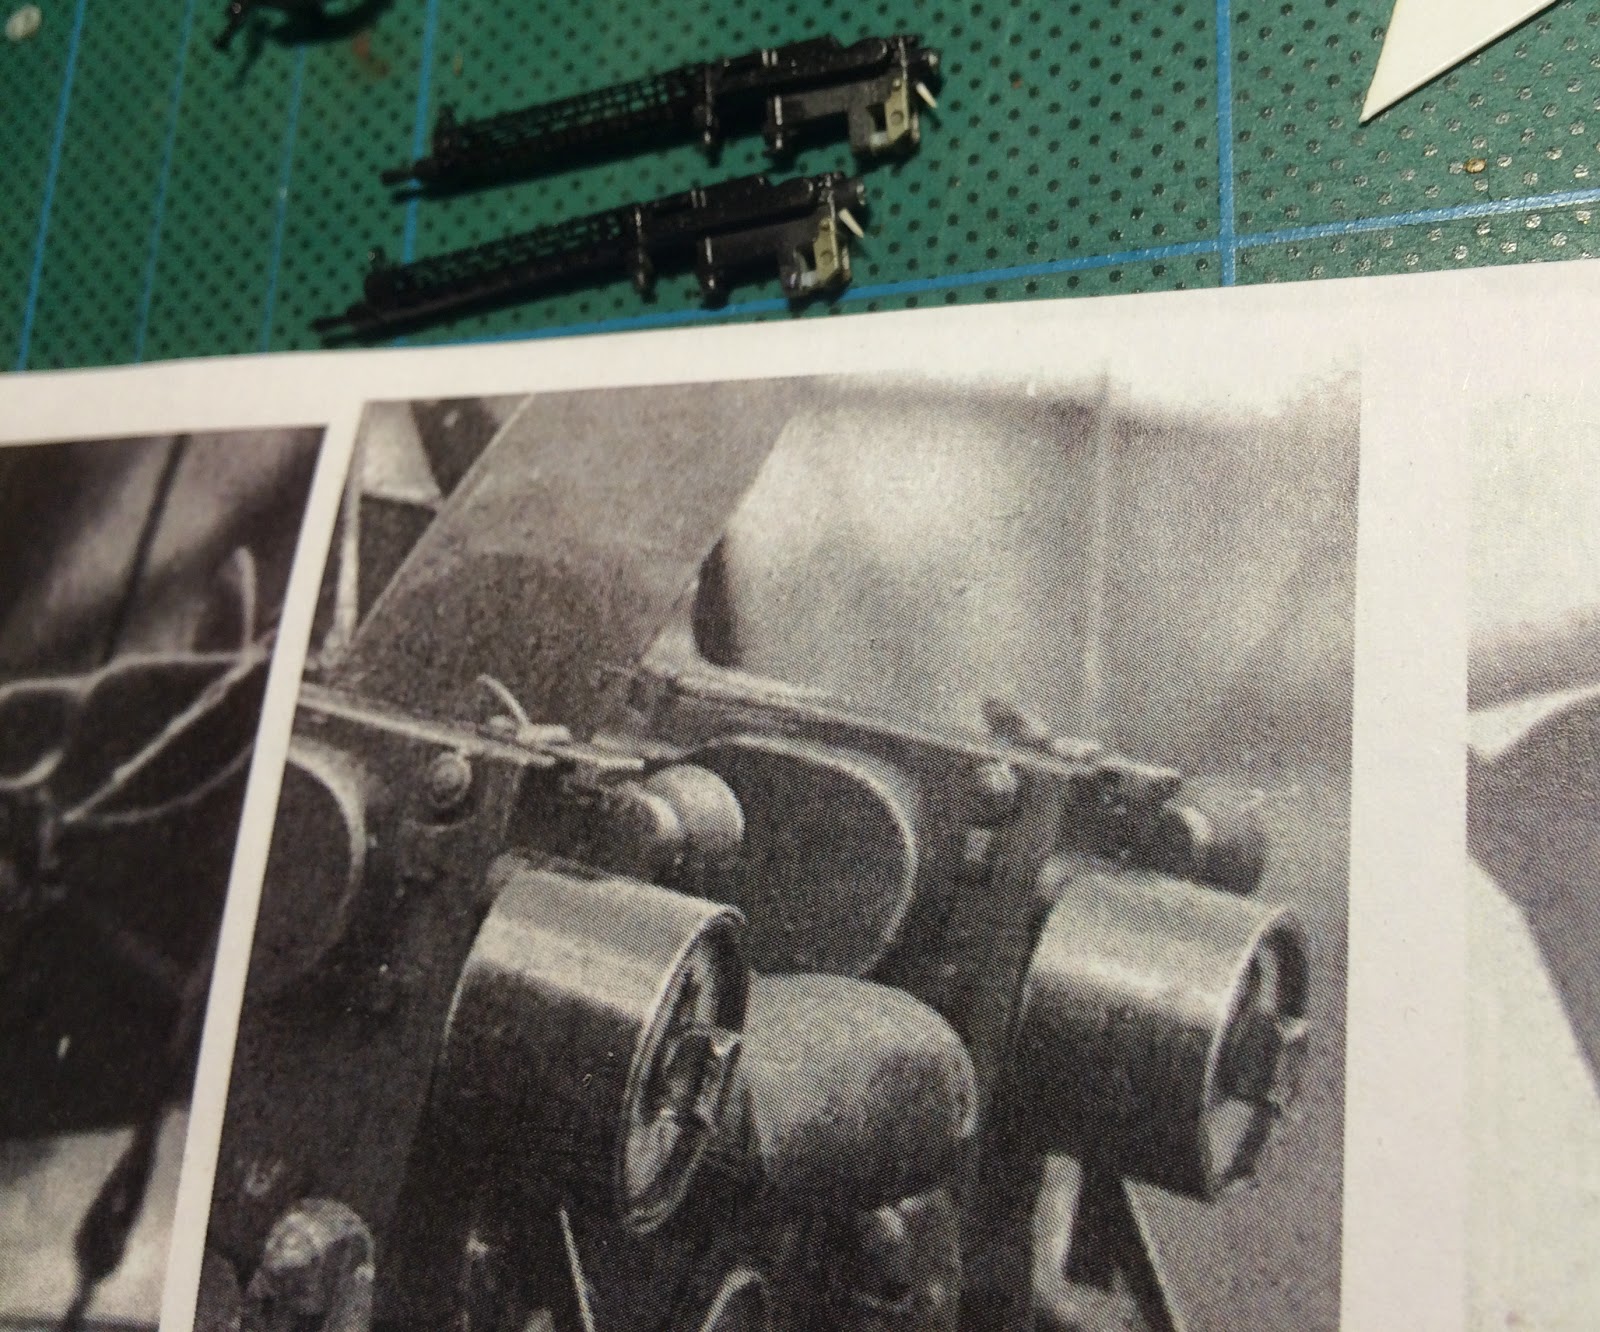
They are lacking the round counters.
Perhaps make some?
I will probably install the interruptor gear as well even though it probably will just be barely visible.
Stretch sprue for correct diameter round counter.
Looks pretty similar to the real thing
Round counter installed
Painting the cockpit edges before closing up. Masking the inside is much easier now than later..
All fits perfectly. Ready to close up.
Closed up, time for Spandau synchronisation gear and then top part of the fuselage goes on.
Subscribe to:
Posts (Atom)