Saturday, December 27, 2014

Fuselage wood finish


Masking

Base coat,
various light brown shades

Oil colour brushed on.

Decals and coat of Tamiya clear

Dryfit of tail plane revealed one more area that needed wood finish

Thursday, December 11, 2014

Decalling the wings and control surfaces with lozenge decal sheet.

Covering the tailplane in lozenge decals and ribtape

Painting any fittings that will show through, interior green.

And there a couple of bolts opposite of where the struts attach.

Covering the underside of the wings.
Caution. It says specifically NOT to use decal softener.
However, I'm using the tiniest amount to make them follow sharp curves.
And yes, it does melt the decal. Do not touch. Leave it alone until dry. use extremely sparingly. Practice on a spare bit -and again, -DO NOT TOUCH UNTIL DRY.

A small imperfection. I only noticed after putting on the decal.
There is a bit of a dimple at the thickest part of the wing.
Dry fitting the finished lower wing and tailplane.

Wings done

Tuesday, December 9, 2014

Armament and closing up the fuselage

The support brackets are molded into the machine gun as the point of attachment for installing the part.
A little bit of hollowing out does wonders for this..

Painted gray-green.

Annealing the cooling jackets and rolling them.

Cooling jackets glued on and dryfit both Spandau.
They are lacking the round counters.
Perhaps make some?
I will probably install the interruptor gear as well even though it probably will just be barely visible.

Stretch sprue for correct diameter round counter.


Looks pretty similar to the real thing

Round counter installed

Painting the cockpit edges before closing up. Masking the inside is much easier now than later..

All fits perfectly. Ready to close up.

Closed up, time for Spandau synchronisation gear and then top part of the fuselage goes on.

Interruptor gear stops machine guns from firing when there is a propeller blade in the way by synchronising them to the engine.

Spandau LMG 08/15 x 2 installed with chutes and round counters

Thursday, November 27, 2014

Engine; -Building the Merc D.III 200hp


Starting with the engine block;


Dryfit of engine. Fits perfectly!
Black MrHobby lacquer for cylinders and intake manifold.

Metalizing the crankcase

Detailing progress.
Picked out some brass detail with a toothpick. First layer of weathering of the metal using different combinations of Testor Steel and Testor Exhaust.
The metal finish decal on the crank case gives a nice touch..
The camshaft/rocker assembly is Testor Exhaust metalizer with a drybrush of Testor Stainless Steel metalizer for highlight, rocker shafts picked out with a toothpick, etc..

Auxiliary drive with BOSCH magnetos and decompression lever (wooden handle, standard wood effect), airpumps etcetera

Adding spark plugs made of fusewire,
Superglue and cut..


Starboard side done.
There are two park plugs per cylinder, one on each side of the engine, run off separate magnetos.

Spark plug cables are made from coil copper wire, painted with yellow enamel that has stretched rigging wire wound around it while the paint is still quite tacky.
This is then secured with a coat of CA glue.


The spark plug cables as per the reference pictures in the instructions.
5 out of 12 done.
I'm not sure if all Merc D.III would have yellow braided spark plug leads, but that's what I'm going with..


Done.
After installing the engine, I noticed there's a decal missing on the left side.
No problem fixing since the fuselage isn't closed yet..


Friday, November 21, 2014

Rigging and assembling cockpit interior

Hmm, had to drill a hole through part A37, otherwise the cable for pulling the elevator up has nowhere to go! There's a bulkhead in the way.

Now this cable can be rigged. Probably not visible once closed up anyway..


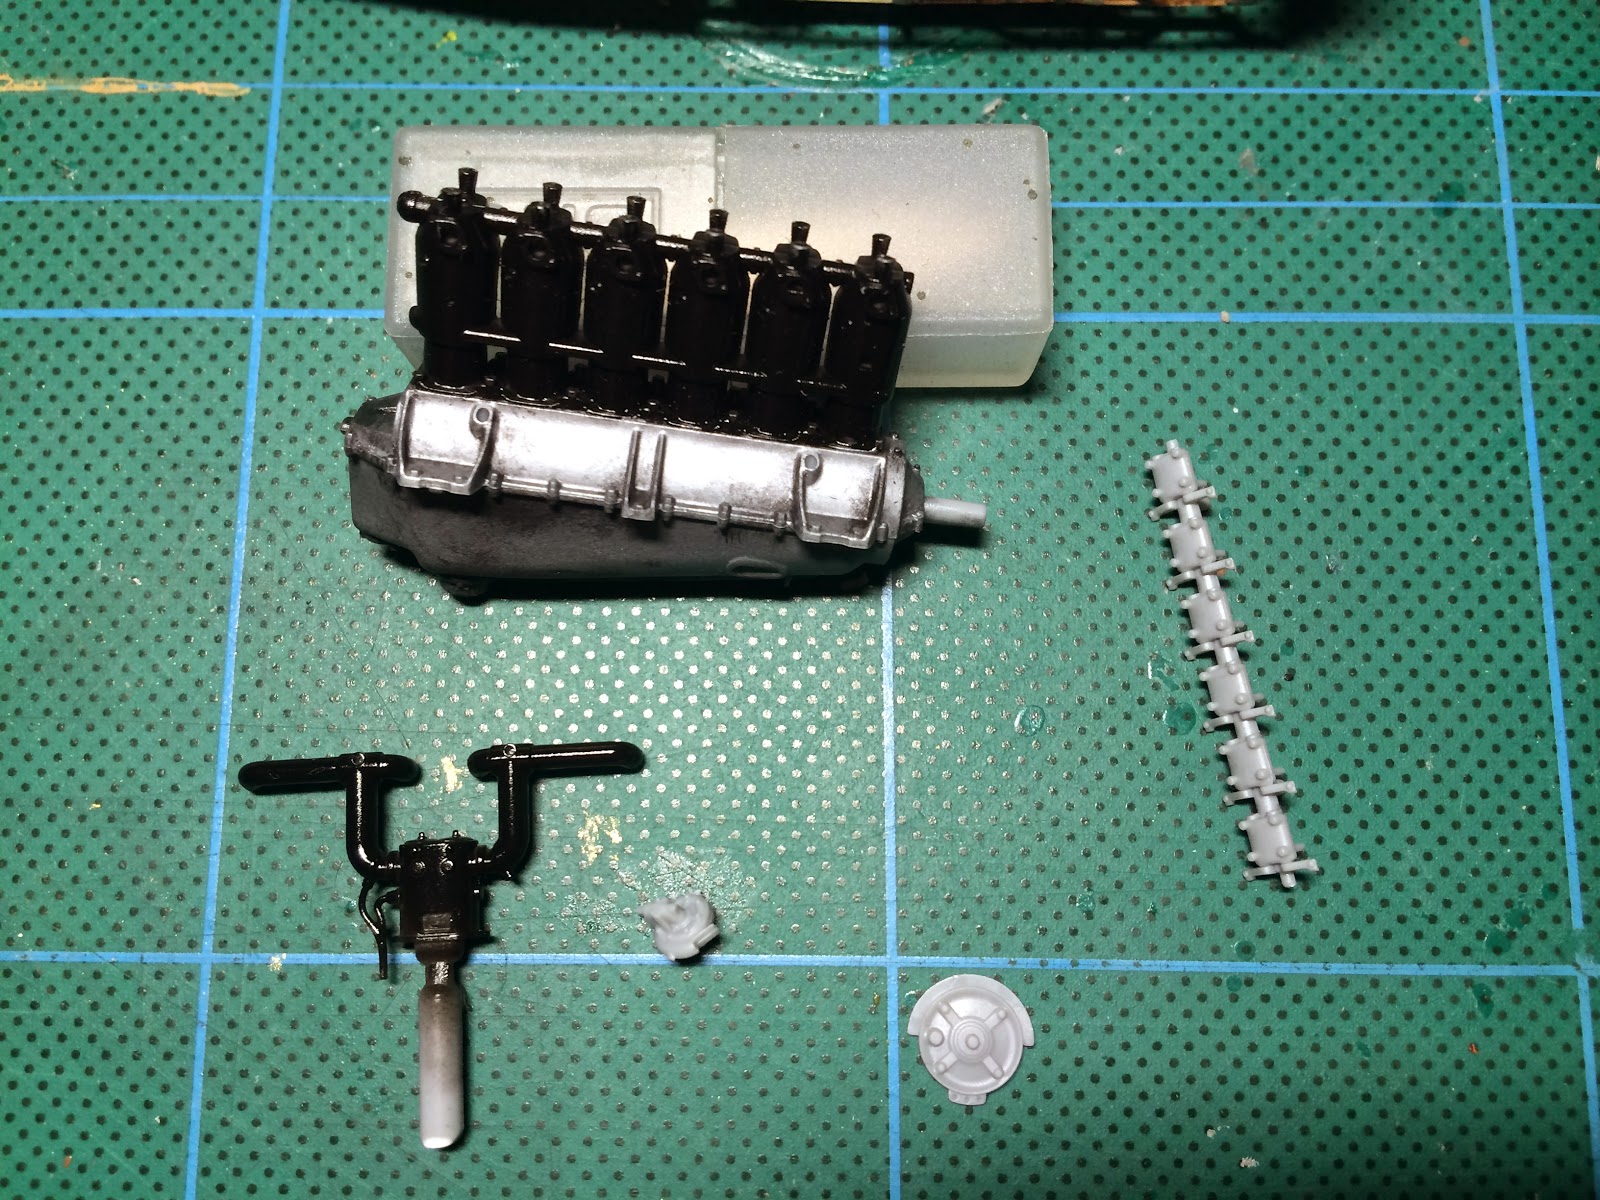
Framing and instrument panel done

Nearly missed this one!
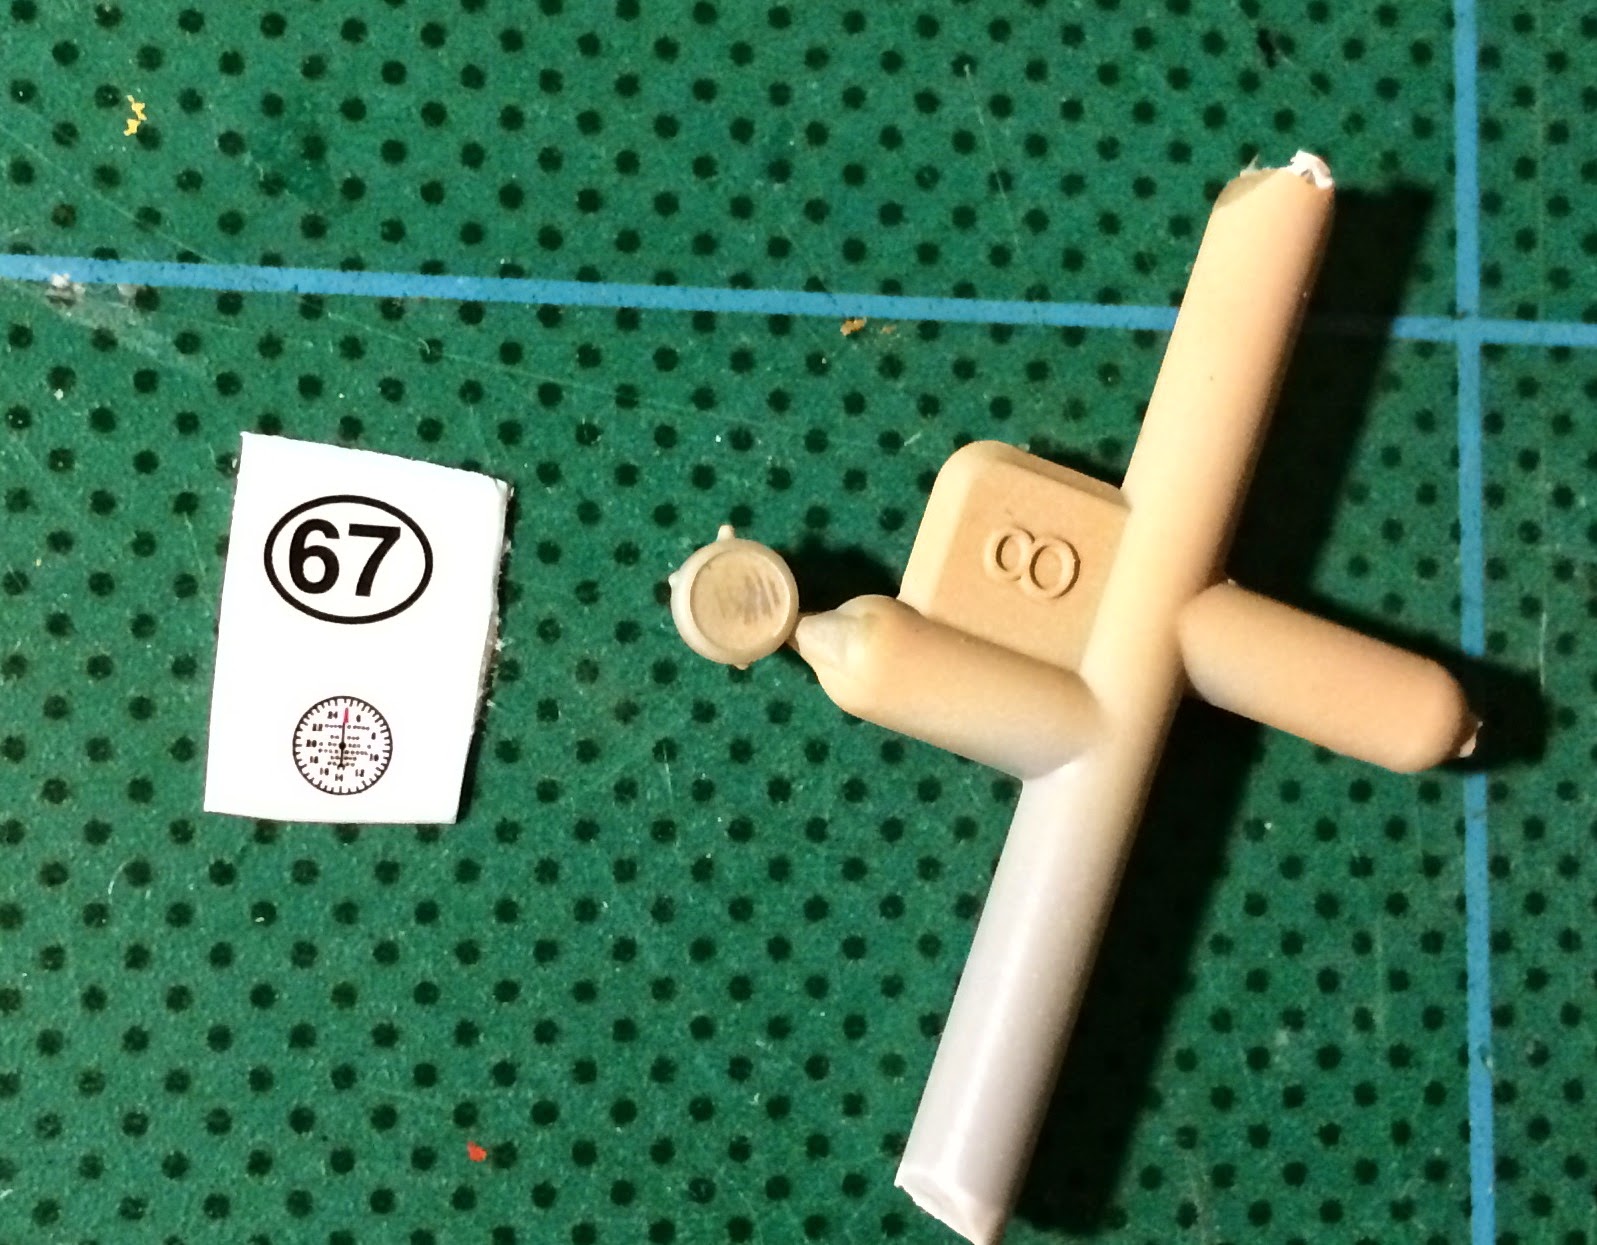
This is the altimeter, it's to be suspended under the instrument panel as per photo.
Part A8 and decal 67 as mentioned in the photo caption on page 3.
It is not shown at all in the assembly illustration, just as a note under this one period photo of the subject!

Ready.
No mention on how to attach it though.
Suspect hanging it from the three attachment points using rigging thread would do it..

This picture shows the run of the elevator lift cables through the newly drilled holes through the bulkhead.

Control cables done.
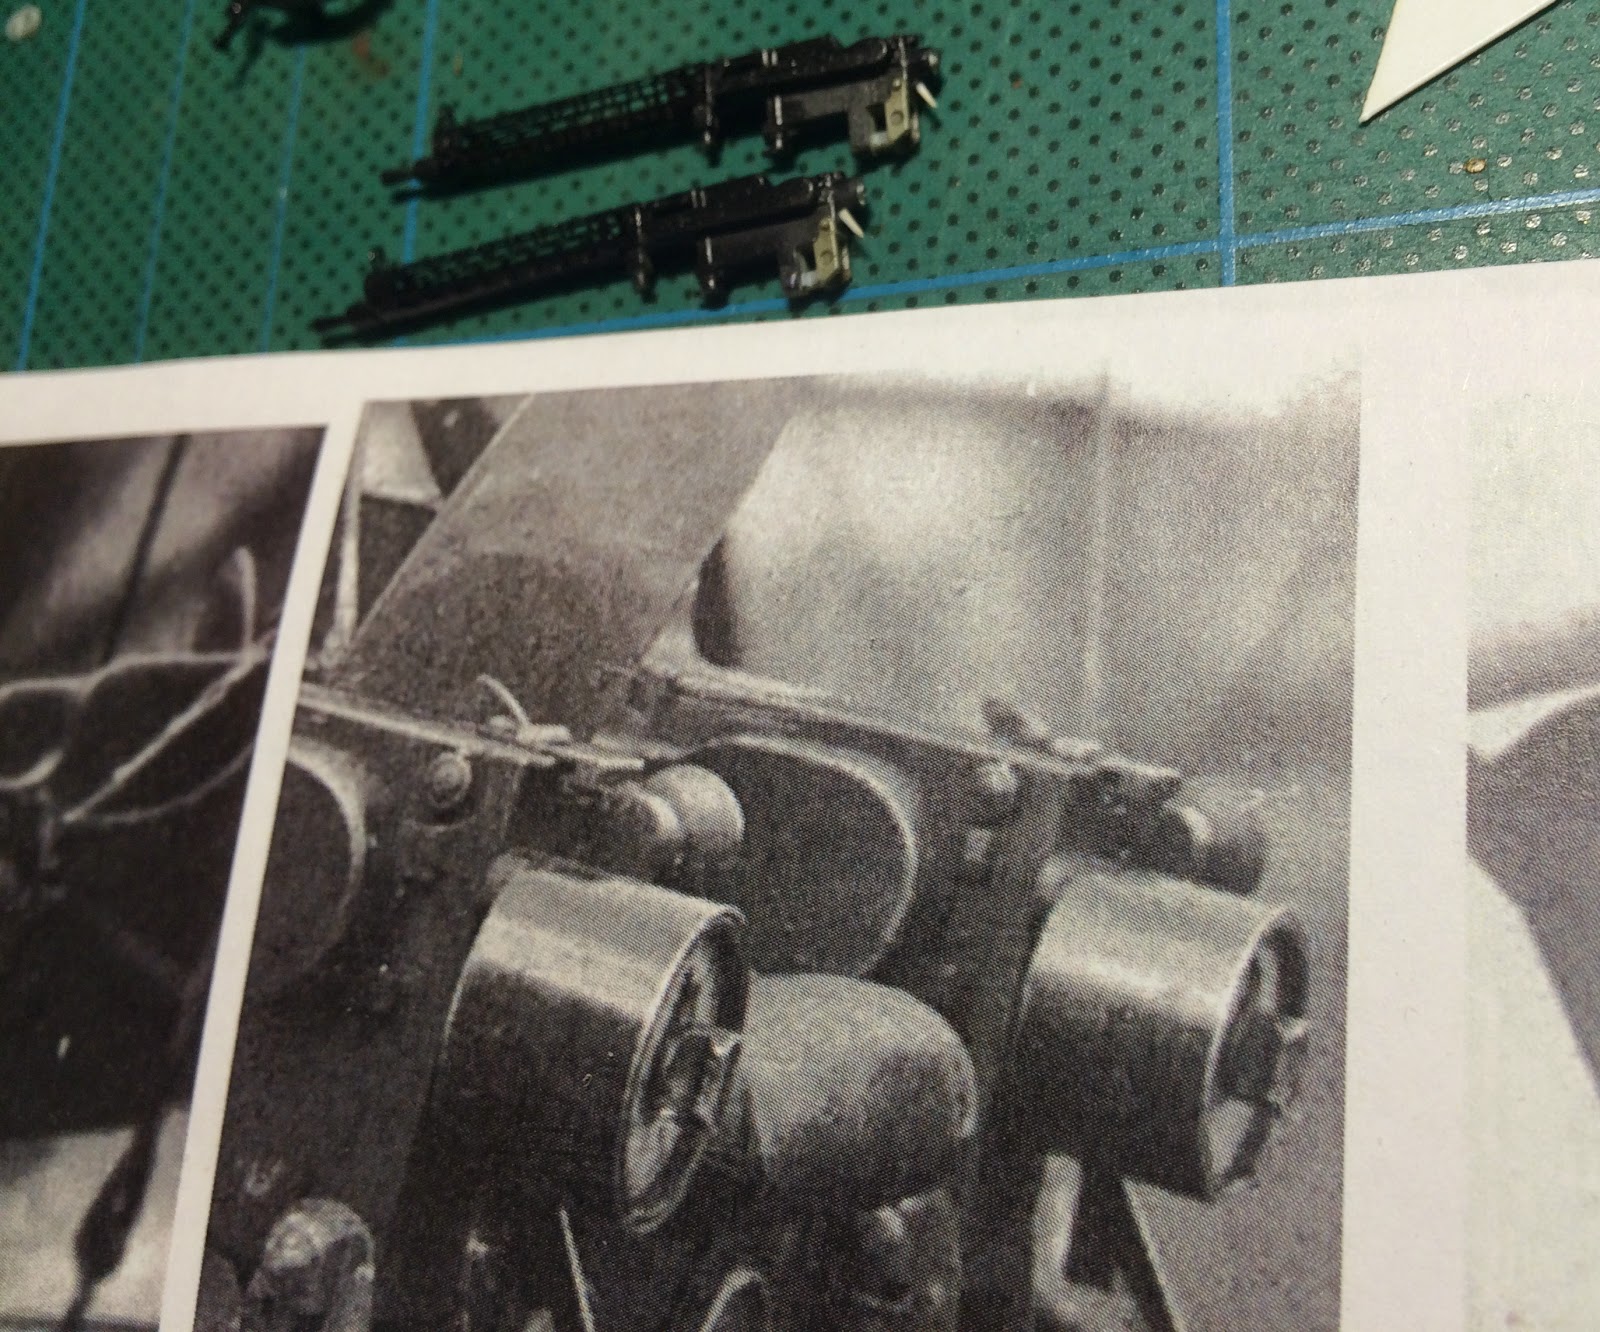
Just realised I have not made any machine gun trigger cables.
The throttle cable is already molded onto the control stick, but there is no representation of the machine gun trigger cables.
Probably should have done this before installing the control stick! 

I wasn't quite sure how to attach the altimeter.
If I had just stock it to the ammo box, I would have blocked the sliding hatch, yet the pictures show it being located here. I then noticed the altimeter had what looks like three attachment points that you could potentially hang it by, so I rigged it up hanging as per picture above.
-Still to do; machine gun trigger cables..
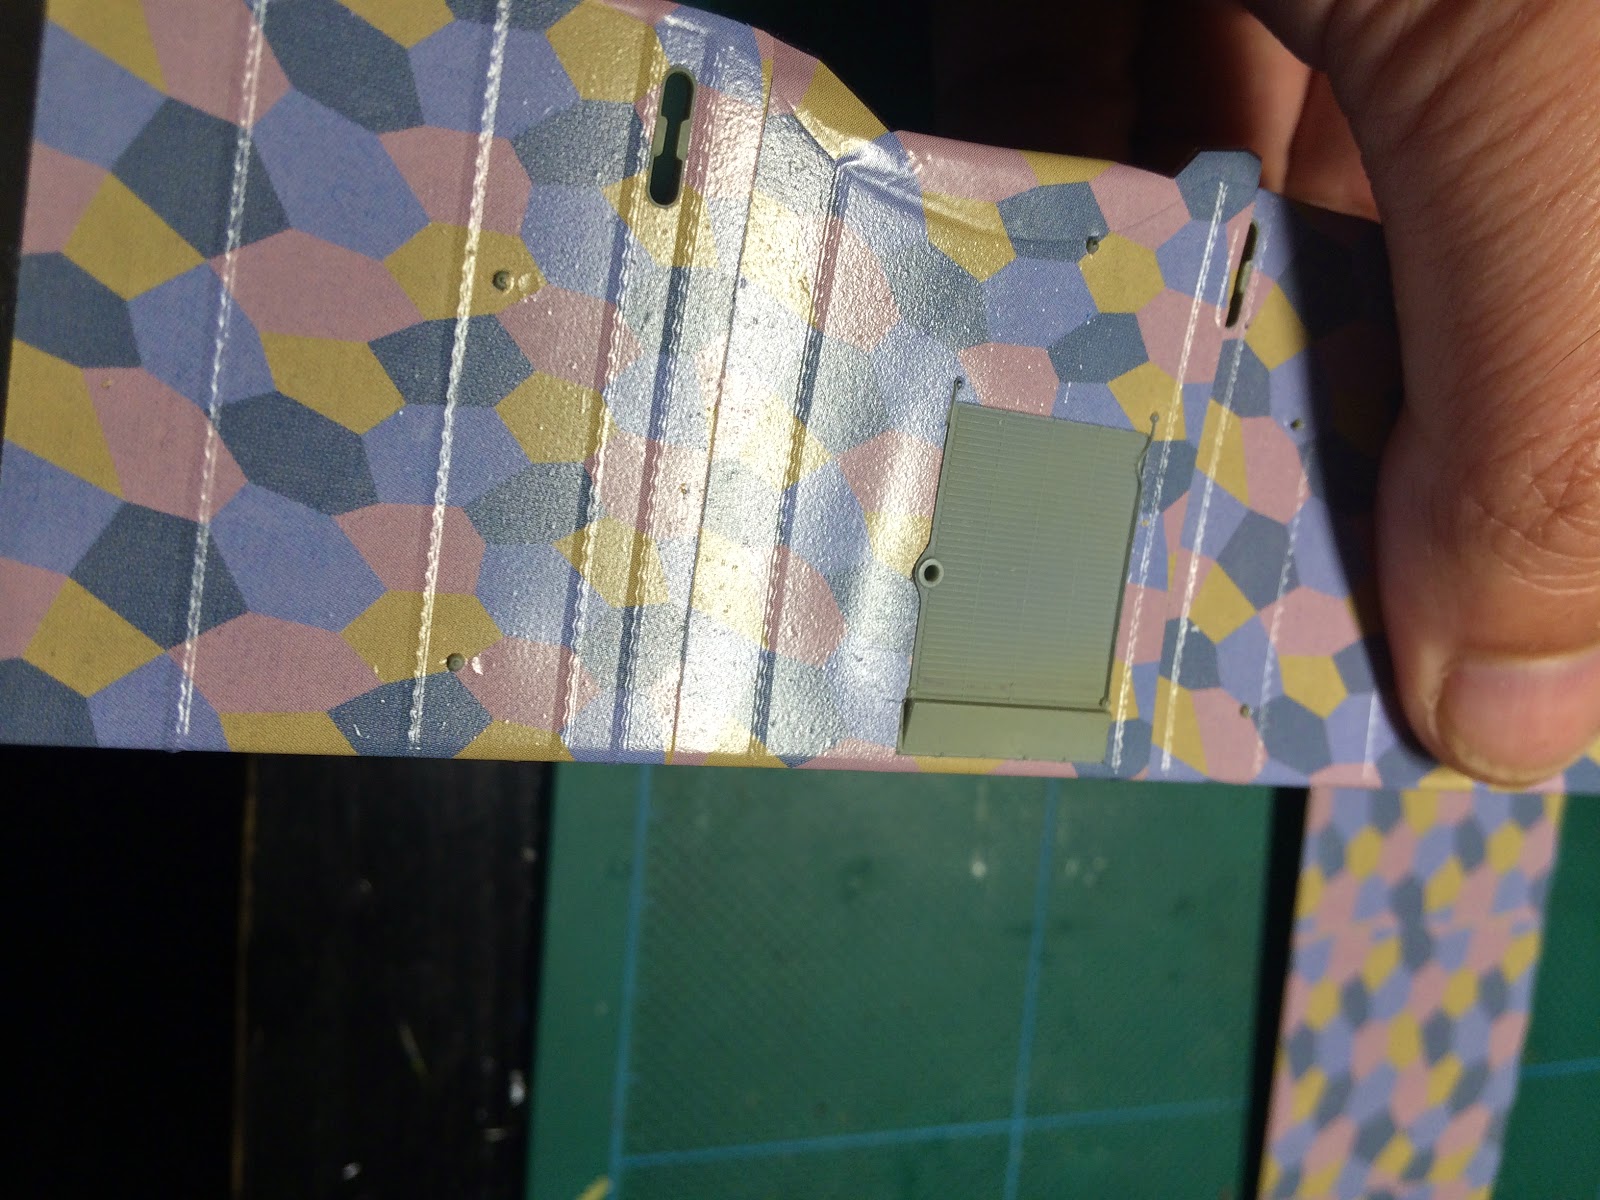


Thursday, November 20, 2014

Waiting for rigging wire..

-So in the meantime, some little other odds and ends to work on:

The 'spät früh' decal is a bit big.
Separated the words and moved them closer to each other.
Otherwise, 'früh' will be blocked by the instrument panel once that's installed..
The handle itself is a bit large and could probably benefit from being replaced with photoetch, but that's nitpicking a bit..

There are holes for the switches in the instrument panel, so why not add some switches to these?

Small, but visible, -if you know what you're looking for..

Painting the seat.
This is the base coat.

Oil streaks and wash..

Then I'll have to leave the cockpit for now and move on to the engine until the rigging thread arrives:

Uumm.. looks like they are having a bit of mold trouble with ejector pins breaking..
Easy to cut off though, -not an issue

Starting Merc 200hp engine assembly
I have chosen aircraft 'B' which needs the Mercedes D.III 200hp engine option


..update: -rigging wire arrived..  :-)